Tuesday, November 30, 2010

What to use instead of a tripod.

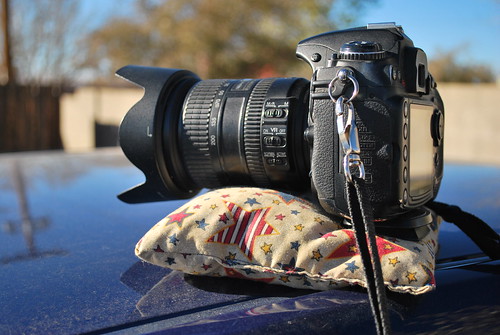
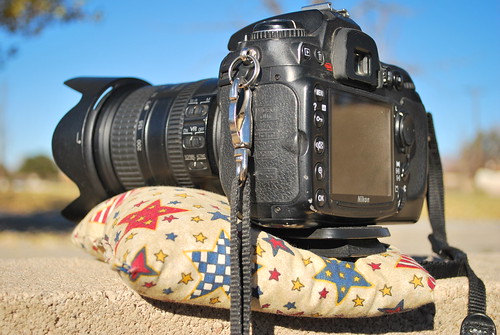
A few years ago I was listening to a German blogger and he suggested using a bean bag as an alternative to a tripod. It's been so many years since I heard that blog I can't recall the photographer who made the suggestion to give him credit. Anyway, it sounded good, so I made one and tried it.

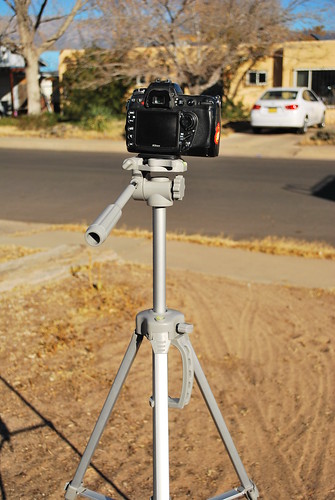
Tripods can be bulky and awkward many times and time consuming to set up. They can also malfunction or break at awkward times.

DSC_0903

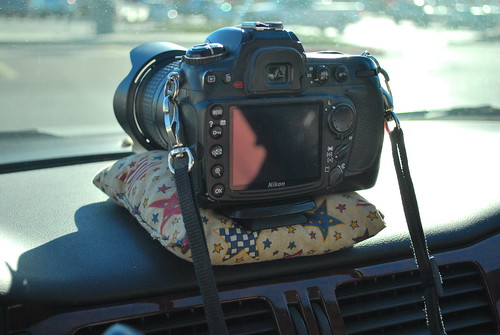
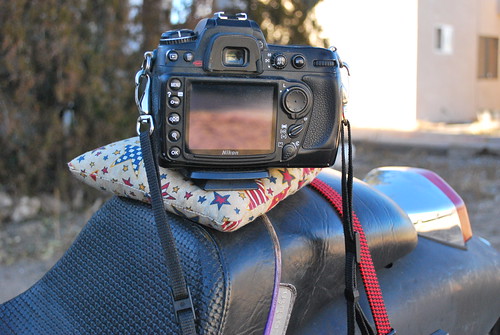
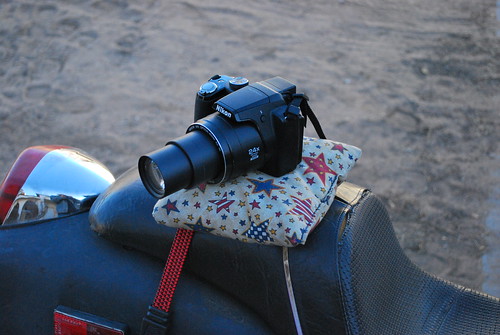
A bean bag can be a useful alternative in many situations when you need a long shutter speed, want bracketing shots or even a self portrait. They can be set up in a lot of places very quickly and taken down just as quickly.

You can set it on a block wall;

DSC_0899

The roof of your car;

DSC_0900

The dashboard of your car (remember if you do this you will have to adjust the white balance to account for the tint of your windshield. You should also ensure the windshield is clean.)

DSC_0901

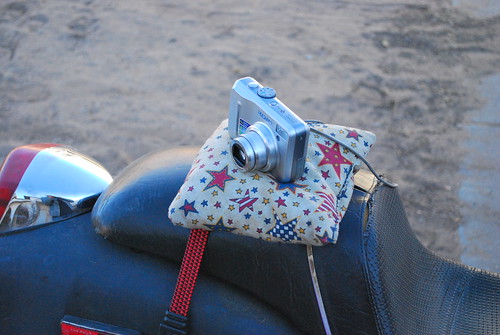
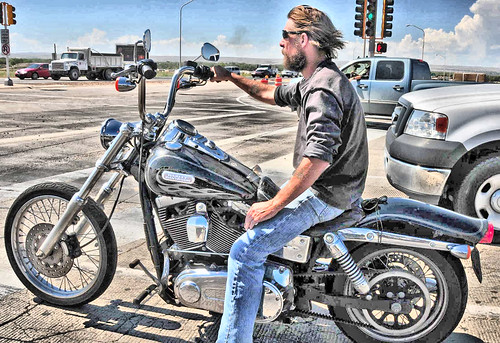
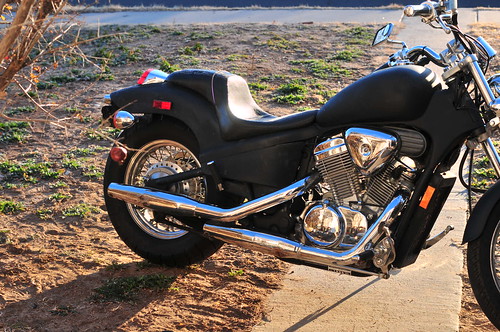
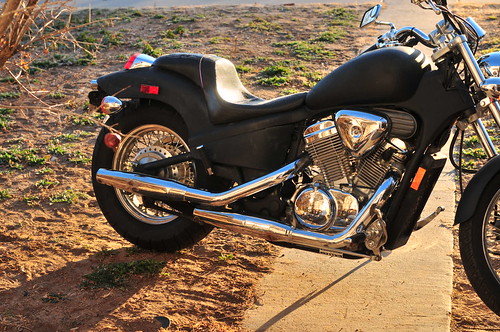
Or the seat of your motorcycle.

DSC_0902

It even works with Super Zoom point and shoots;

DSC_0905

and pocket size point and shoots.

DSC_0904

Of course a bean bag can't replace a tripod in all situations such as standing in an open parking lot or field, but it's small, light and easy to carry and can come in handy in many situations. I made my bean bag with my sewing machine, some fabric and small plastic beads. I imagine filling a sock or ziplock bag with dried beans or rice would work just as well.

If you decide to give this a try let me know how it went for you and what you might have learned doing it.

Using focal length in outdoor portraits

I read in the Digital Photography School blog a post about taking portraits out of doors and what to do about the back ground. A question the photographer might ask him/herself is, "how much background do I want in my frame? Do I want to concentrate on my model alone or do I want to show my model in an interesting setting somewhere?" (I'm using 'model' as a generic identification of the subject in your photo like a spouse, friend or relative.)

I took my oldest daughter, Lauren, to a lot with iron sculptures to demonstrate how the background disappears from the frame as I backed farther away from her and used my zoom to keep her the same size in the frame.

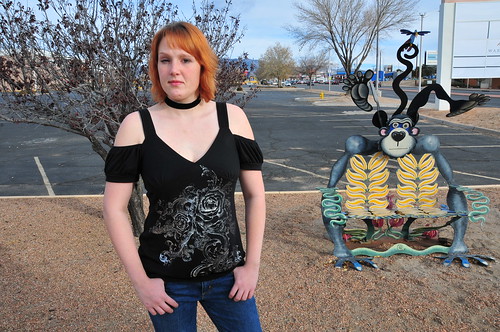
Here's a photo of Lauren I took from a few feet away and my lens set back to 18mm

18mm

As you can plainly see she is framed close and there is a lot of her and a lot of background in the photo. A close zoom like this might be used to show your model and where you are in the same frame without having your model appear too small and almost unrecognizable (something I see in so many tourist photos.)

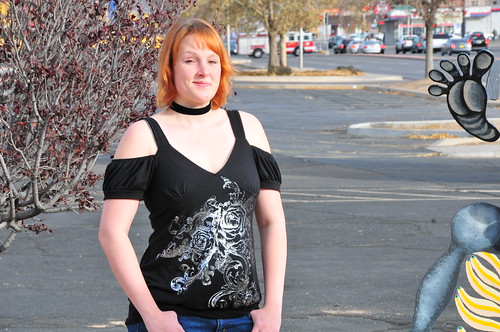
In the next photo I've backed away from Lauren several feet and zoomed my lens to 95mm. Here you can see the background starting to disappear and she is the same size in the frame.

95mm

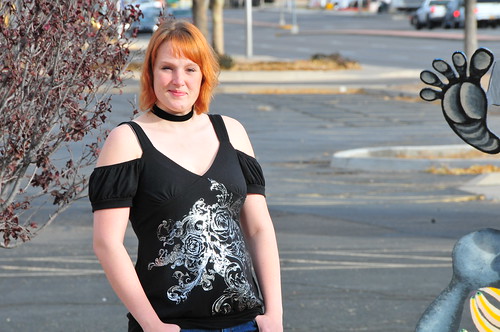
Last shot from several feet away and zoomed out to 200mm.

200mm

Here you can see the background has almost disappeared and the model still fills the frame. You can do this with almost any lens/camera that can zoom. If you're using a simple point and shoot you will want use the Landscape setting so the camera will use a small aperture and get the back ground in focus.


Saturday, November 27, 2010

Another note on using flash outdoors.

So many people don't use the flash on their cameras when shooting out doors during the day. Here's an excellent example of why you should.

This is my buddy Dawn modeling for me.

Dawn in the shadow

In this first example I don't use the flash and you can see the shadow on Dawn's face. I suppose I could make it lighter by post processing it, but why bother. Just pop up the little flash on top of the camera and take the photo the right way.

Dawn in the shadow using fill flash

As you can see the flash filled in the shadow and Dawn's face is well exposed and you don't have to post process anything. So, to all you snapshooters out there, use your flash.

I had my cameras sensor cleaned right after I saw these photo's. Dawn does not have a spot on her face.

Thursday, November 25, 2010

Four months since my last update... so much for the resolution to make a post a week.

I like High Dynamic Range images (HDRi.) I've read many pro's and con's about it and really don't care about them. I like it so I'm going to play with it.

HDR is taking multiple images (three to seven) at different exposer settings to get a wide range of light then layering them on top of each other and tone mapping the image. There is a way to do it in PhotoShop and Stuck in Customs has a good tutorial on how to do it. There are several other programs that do most of the work for you, all you have to do is some tone mapping. I use Dynamic Photo HDR. It's an inexpensive HDR program and is very easy to use.

I am told the concept came from photographing the inside of cathedrals and was used to capture the entire range of light. If a photographer set the exposure to get the light from the stained glass windows the rest of the room would be too dark in the shadows. If the exposure were set to light the entire room, the light from the windows would be blown out. So the concept is getting multiple exposures then layering them to get the entire range of light in one image. I'm sure that's an oversimplification of the concept, but it should be easy enough to understand.

Here is an example of using three frames at 0 ev, +1 ev and -1 ev.
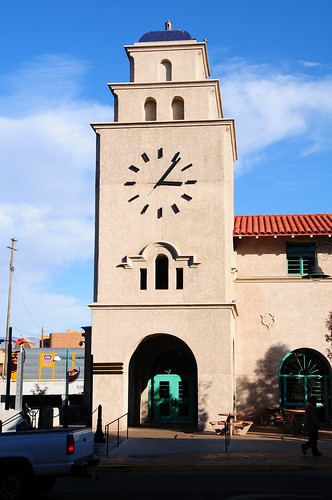
This is the Albuquerque train station at Central and 1st ST, downtown.

0 EV Here you can see the front of the building is properly exposed, but the door and windows are dark.
0 EV

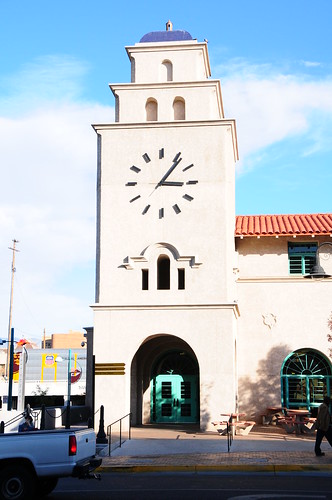
+1 EV Over exposed by one step you can see the building is washed out, but the inside of the door and around the windows is properly exposed.
+1 EV

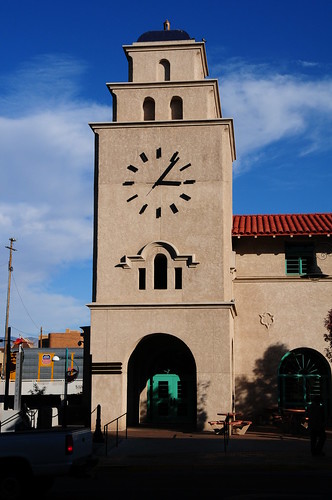
-1 EV Underexposed by one step you can see everything is dark. This layer will be to bring the highlights back to normal.
-1 EV

In each frame you can see the shadows and highlights look different. Now let's see what happens when they are layered onto each other.

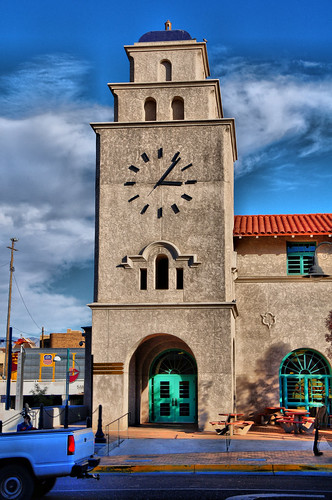
ABQ Train Station HDR

You can see in this photo how the shadows in the door are now lit and the face of the building isn't blown out.

The easiest way to get the photo's is to use a camera that has an exposure bracketing mode. I've tried to do it with a camera that doesn't have bracketing and a tripod, but the results were three photo's that didn't quite match because the camera moved too much when I manually changed the EV for the three shots. Something I have found is if the shutter speed is fast enough I can take the photo's by hand holding my camera and setting the release mode to continuous advance.

Here's another interesting facet of HDR; you don't always need more than one frame. Here's a faux HDR photo of my brother using one frame and tone mapping (I get heavy handed with the tone mapping.)

Puerco-Tom_fhdr


HDRi has it's critics and isn't for everyone, but for those who do like it I hope this little post helps.
Thursday, July 22, 2010

Another lesson from Pixel Pete

I read The Pixels in Pete's world every time he posts something and learn fun stuff from time to time. His latest is about a little gadget called Eye-Fi that uploads your photos directly to your computer over your modem.


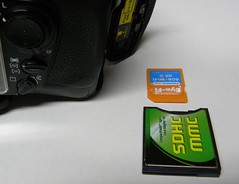
The thing works as advertised, but it only comes in SD size and my favorite camera uses Compact Flash. Amazon to the rescue with a SD to CF adapter card.

DSCN0150

I put it in my favorite Nikon, snapped a quick pic of my wife and a few seconds later it was on my laptop. I have heard there is supposed to be some kind of problems with this type adapter, but it worked perfectly for me.

Jim

Saturday, July 17, 2010

Here's another in-situ studio shoot

I set up a studio in Chriss's garage, the same one I used in my last post (I just finally uploaded some of the photos to use in this blog because I finally figured out something to say.)

JIM_6708

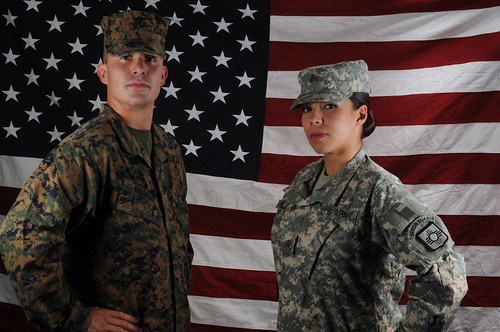
This was the same set up as my attempt to imitate Joe McNally and I see I should have moved the strobe with the silver umbrella from the top left behind them to low and in front of them. I'll remember that next time I get the chance for a shoot like this.
JIM_6710
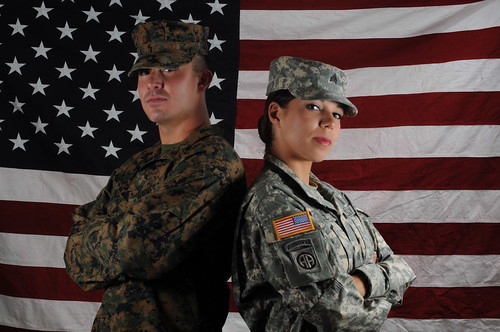
Team America!

JIM_6723

It was a really fun shoot despite my fail at a Joe McNally shot.

JIM_6728

Wednesday, June 23, 2010

Lighting; Learning from one of the best.

I like to read Joe McNally's blog and watch his videos because I love the way he uses his lights (I like to look at his photo's too.)

A couple of months ago I saw this http://www.joemcnally.com/blog/2010/03/16/santa-fe-first-day/ on his blog and wanted to try it myself. I sent one of the pix to my buddy Chriss and she was excited to try it too and after a couple of weeks we finally got together in her garage to give it a try.

I had Nikon SB600 flashes set on light stands on both sides of her level with her head, another SB600 above and behind her shooting into a silver umbrella and a silver reflector in front of her angled into her face (I ran out of flashes or would have used another instead of a reflector.) This is what I got on the first frame.

There's the proof...

Chriss was so disappointed in the first shot she lost interest and wanted to get on with another shoot I was doing for her that night so I had to give up trying. Next chance I get I'm putting the silver umbrella low in front of her and the reflector over her head. I know it won't be "Joe McNally" quality, but it will help me develop my own style.

Saturday, April 10, 2010

just a snap shot

I took my wife to breakfast at Wiley's Pub yesterday and we sat outside on the porch. I loved the way the sun lit up her hair and since I always have a camera with me I shot this.

DSC_7275

I turned the flash down one step to avoid washing the whole thing out and left the camera in Program mode to take care of the rest.

setting up an in situ studio

I see I haven't posted in a couple of weeks so there's going to be two today. I've been feeling under the weather and haven't felt like doing much of anything lately anyway. My wife says it's because I'm retiring; maybe she's right.

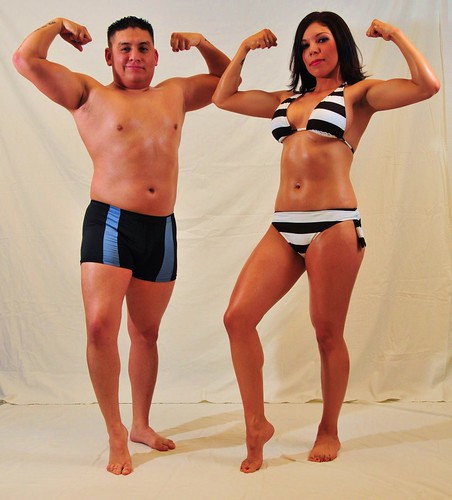
My buddy Chriss has been in an exercise challenge for the past couple of months and needed photo's of her and her partner as part of the "before and after" shots. She's in the National Guard and has drill this weekend so she was going to miss the regular photo shoot at her gym and asked me to help her out.

I don't have a studio (and really don't like studio shoots anyway) so we found a conference room to use.

JIM_5964

We taped a white sheet to the wall and laid another one on the floor to use as a back drop. I had two speed lights set up with an easel to use as a reflector. I ended up adding another light in place of the easel and laying a silver reflector on the floor in front of them propped up on my camera bag.

Here's a shot of me testing the light.

JIM_5971

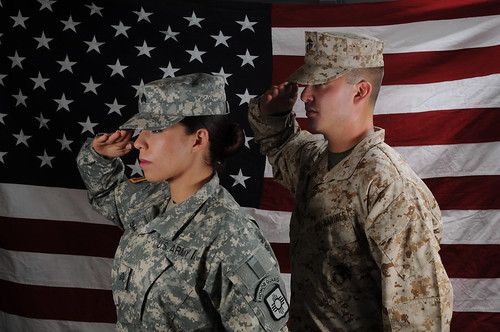
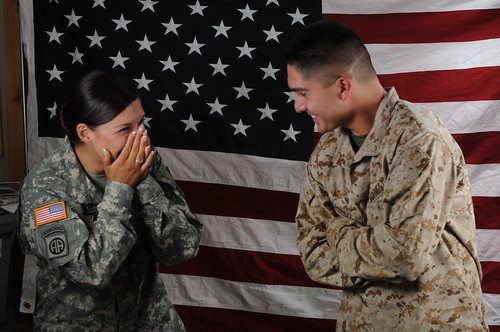
and here are a couple of photo's of Chriss and Garry doing their poses for the contest they were in.

JIM_5986

JIM_5999

Good luck guys!

Tuesday, March 16, 2010

When 'you' want to be in the photo

How many times has it happened, you're out with friends snapping photo's and realize you aren't getting any with you in the frame. So you hand your camera to a buddy to get a pic with another buddy and this is what he/she hands back to you.

DSC_6976

I have several examples of this where the background is in perfect focus and the subjects, me and my buddy, are out of focus, framed incorrectly, not zoomed, etc...

Most folks have a digital camera of some sort or another; a few even have an entry level DSLR. I have yet to see any of them carry their camera's or pull them out to take a photo. When I ask them where their camera is the constant answer I get is "in my desk/closet at home." If you own a digital camera, get it out and some fresh batteries in it and start carrying it with you. You will enjoy looking at the photo's you make in later years and can even have fun posting them to the web.

I was finally able to teach Sergeant Maxon how to focus lock and recompose after about 5 minutes and 20 frames and here's how he did.

DSC_6983

Not too shabby I'd say.

This post was supposed to be about focus/exposure lock, but it took off on it's own path. I'll do that post next.

Thursday, March 11, 2010

Fill Flash or using your flash outdoors

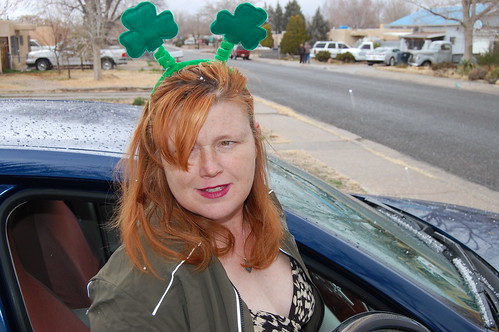
The weather decided Albuquerque needs snow in the middle of March so I decided to take the wife over to Imbibe (a local pub) for a Mai Tai. If we can't have sun, we can make believe we're in a sunny place like Oahu. Here I snapped the wife as she was getting in the car.

DSC_6834

You can see how the flash filled in what would have been a dark photo and brightened her up.

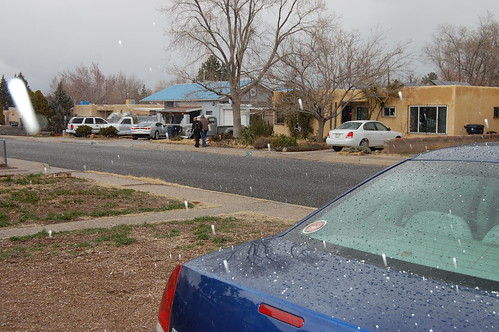
Here you can see the snow flakes falling (they were really more like snow lumps than flakes.)

DSC_6833


And my lovely wife finally got her Mai Tai after putting up with me taking photos the entire trip.

DSC_6836

Saturday, March 6, 2010

Vibration Reduction lens and 'does it work?'

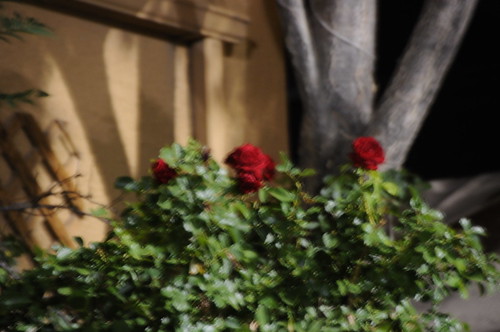
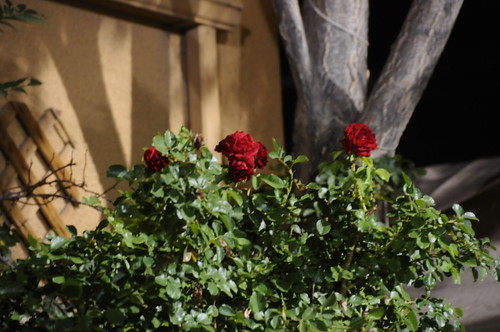
My lovely wife and I were at Sneakerz Bar and Grill one night and I saw a nice rose plant. It was kinda far from where I was sitting (and drinking a beer) and I had my 18-200mm lens opened all the way to 200. Settings used; Exposure 0.5sec, Aperture f/5.6, Zoom 200 and ISO 800 for both photo's (these mean little to me, but there are people who want to know this stuff.)

low light, long shutter, no VR

You can see there's a lot of blur in the photo. So I turned the VR (Vibration Reduction) on and snapped again.

this light was great!

I'd say from these two samples, VR works and works well in low light. Get one if you have the means.

P.S. clicking any of the photos in this blog will take you to my Flickr page.

Strobist (or, things you can do with a speed light)

This post is with photos I didn't take today or with two flash units (I just needed to get a post up.) My wife had just bought me the first one last year, a Nikon SB-600, and I was having a lot of fun using it off camera.

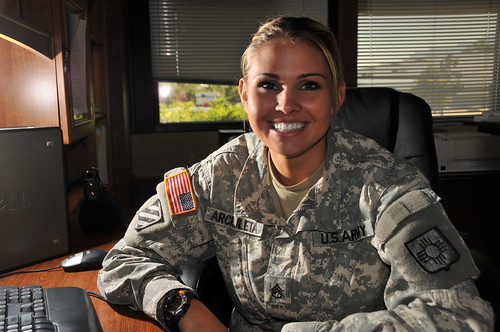
This is a photo of my Army buddy, Dawn. I set the flash in her lap and shot her from the front of her desk. It's kinda crude, but I really like the effect of the light and shadows.

Dawn Archuleta


In this one I was sitting at Dawn's desk with the flash sitting at the far edge away from me and pointing up with the Sergeant Major standing close to it. I asked him to show me his "War Face" and this is what I got.

The Sergeant Major


Here is one with the flash sitting to Dawn's right and aimed at her.

Dawn Archuleta


I really like the effect of using a strobe to direct the light at angles to get light and shadows giving texture to my subject. Something I really have to do is start a notebook and record setting and positions of where I put the subject and where I put the light so I can more consistently make these kinds of photo's. I need to get time and a place to start playing more with my second flash too.

Thursday, March 4, 2010

New Strobe

My lovely wife bought me a second Nikon SB-600 Speedlight. Here she's holding them for me showing both firing at the same time. I'm going to be playing with these baby's the rest of the week.

JIM_5250

Monday, March 1, 2010

Panning and white balance.

My youngest daughter, Chelsea, was home on leave from the Marines and wanted me to teach her how to ride a motorcycle. During the lesson my Wife comes running out of the house with my Nikon D40 and yells at me for not taking pictures. As a dutiful husband and dad I take the camera and start snapping away. Then I decided to try some panning shots so I turned the D40 to Shutter priority and set the shutter to 1/40th of a second. The camera decided to use f/13 (it's not set for full stops) and I shot away. I did manage to get a few good ones. Here she's going about 10 miles per hour, but it looks much faster because of the slow shutter.

Panning is just following the subject through your view finder, pressing the shutter half way to focus lock on it and shooting. Your camera has to keep following the subject as it moves or it won't work.

DSC_6552

----------------------------------------------------------------------------------

A few days later I read on Ken Rockwell's site about white balance and how he uses the cloudy setting even in sunlight for it's amber, warming effect. It was early morning in Albuquerque and my 50mm lens was on my D300 body so I opened the front door, set my white balance to sun and here's what I got.

JIM_5081

Changing the setting to cloudy I snapped again and here's what came out.

JIM_5080

I have to admit, I like Rockwell's way better and keep my WB setting on cloudy most of the time now.

Saturday, February 27, 2010

Trying to shoot in an auditorium (was not easy)

So I tried to shoot the 44th Army Band at a concert they were playing down at the fair grounds and it was very different than anything I'd done before. The light was horrible; it was low so I had to use a High ISO, large aperture and slow shutter. The lens I was using didn't have Vibration Reduction so most of the pix are fuzzy (my VR lens is still in the shop getting repaired.) Flash was a small help, but didn't help much because of the size of the place and the distances I had to shoot at.

I used my Nikon D300 body with a Nikkor 28-100mm AF lens and a Nikon SB-600 Flash mounted on the body.

This was a humbling experience for me and I am glad I got to do it so I could learn something. Specialist Erin Montoya from the 200th Public Affairs Detachment was there taking pix too and I hope she did a lot better than me.


White balance was another nightmare in the place. I tried using Live view, going through the WB settings until one looked good; took a shot then the light changed. In this frame there is different WB in different parts of it and I couldn't fix it in Photoshop.
JIM_5166

Next time I have to shoot something like this I will have a VR lens and maybe rent one with f/2.8.

Friday, February 26, 2010

Chriss advanced to the second round of her contest and wanted to do another shoot.

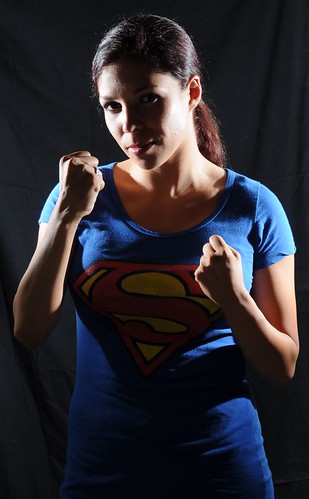
When we talked about it Chriss wanted to use the same location as the Brianne shoot. This time I brought an extension cord and power strip to plug in my lights, but I still had only the small area to work in. I brought a couple of guns for props to the shoot and she really enjoyed them. (she's an Army Iraq veteran and knows how to handle firearms). Here are a few from that shoot.

Chriss

I really needed to pull her away from that back ground, but just didn't have the room.

Chriss

Chriss

Chriss

She was really happy with the shoot and loved the photos (I'm kinda pleased with them myself.)

Footnote: The T-Shirt she's wearing is from her friends with the local band Anesthesia.

shooting another friend for the radio station

Chriss called later the same evening and talked about her shoot. She would be dressed kind of Goth and wanted her shoot in a graveyard or in dead trees at night. My first thought was, "I Don't Wanna Be That Cold!!!" Second though was, what am I gonna do for lighting? The only thing I could come up with was my trusty SB-600 speed light (an off camera flash sitting on the ground in front and to her left) and it's little stand. I also had the thought of using rubber bands to attach a bunch of LED flashlights to my light tripods. Heavy to carry and it didn't work. Back to the SB-600 and here's what I got.

Chriss


In this one I think a second speed light with a green filter behind her would have looked good.

Chriss


I liked the way I could see her eyes through the branches in this one.

Chriss

This shoot went pretty well for us and she really liked the photo's. Chriss has become my favorite model. She shows up, on time and loves to pose.